The Complete Guide to Filing Nails: Why, How, and Common Mistakes to Avoid
I used to think filing nails was a simple, mindless task. Grab a file, saw back and forth, and you are done. Then I noticed my nails were peeling and splitting, no matter what I did. It took a professional nail technician to point out that my filing technique was the problem.
Here is everything I have learned about filing nails: why it is essential, how to do it correctly, and the common mistakes that can weaken your nails.
Why File Your Nails Regularly?
Filing your nails is not just about shaping them. It is a fundamental part of nail care that affects their strength, health, and appearance.
Prevents snags and tears. Sharp edges and rough spots can catch on clothing and hair, leading to painful tears. Regular filing keeps edges smooth and prevents accidental damage.
Promotes even growth. Filing helps maintain a balanced shape, which can influence how the nail grows. An uneven nail can grow in a way that causes peeling, splitting, or even ingrown nails.
Improves polish application. A smooth, well-shaped nail is the foundation of a flawless manicure. Polish adheres better and lasts longer when the nail surface is even and the edges are smooth.
Strengthens nails. Filing in the correct direction can actually help strengthen nails by removing weak, frayed edges and preventing them from catching and tearing further.
Choosing the Right Nail File
Not all nail files are created equal. Choosing the right one for your nail type is essential for safe, effective filing.
Glass/crystal files. Made from tempered glass, these files are gentle on natural nails. They seal the nail edge as you file, reducing peeling and splitting. They last for years and can be sterilised. Glass files are ideal for natural nails and fragile or brittle nails.
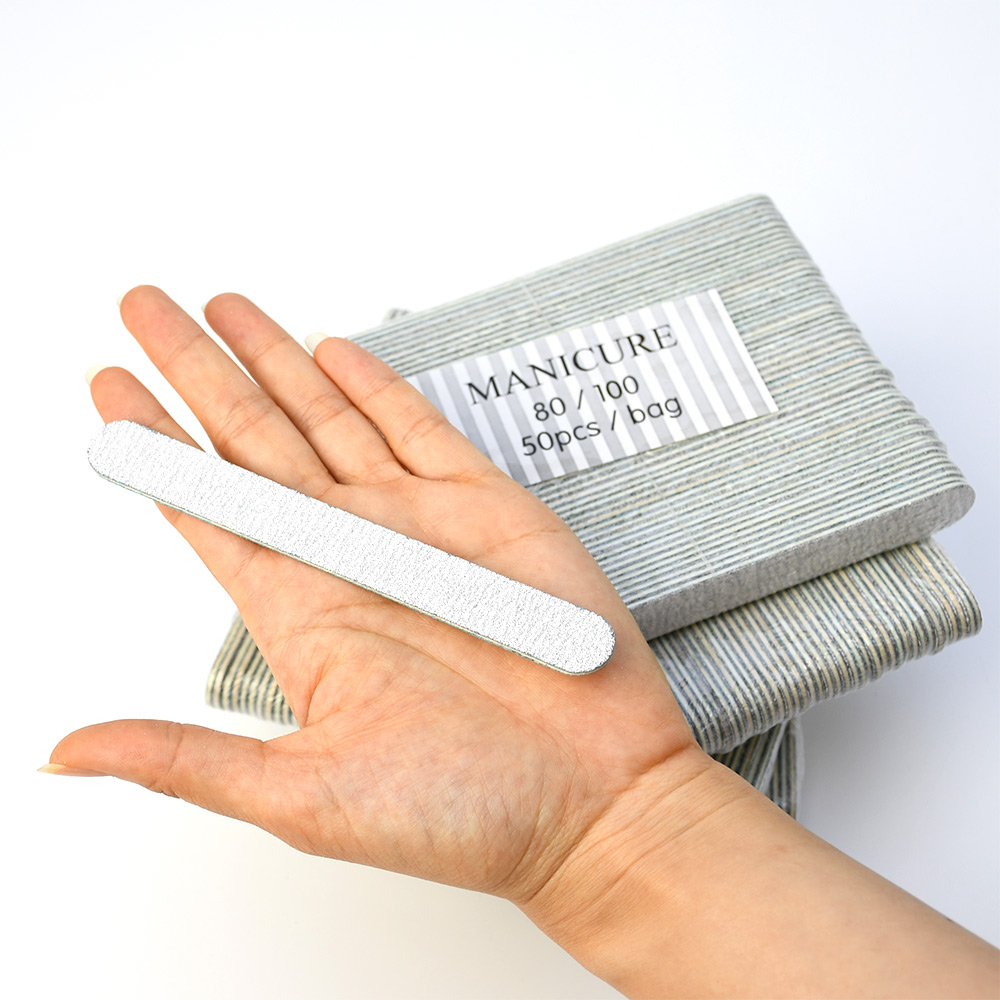
Emery boards. Cardboard or wooden files coated with abrasive particles. They are cheap and disposable, but short-lived. They are available in various grits, making them suitable for both natural and artificial nails. Emery boards are best for occasional use or travel.
Metal files. Durable and easy to clean, but coarse and aggressive. They are not recommended for natural nails. Metal files are best for acrylics and hard gels.
Ceramic files. Made from fired clay, ceramic files are gentle yet durable, generating less heat than metal files. They are ideal for natural nails and sensitive nails.
Grit matters. The grit number indicates the coarseness. For natural nails, use a fine-grit file (180-240). Coarse files (100-150) are for acrylics and gels. A finer grit (240+) is used for buffing and finishing.
How to File Your Nails Correctly
Step 1: Start with clean, dry nails. Filing wet nails is a common mistake. Wet nails are soft and flexible, making them more likely to tear or fray.
Step 2: Choose the right file. For natural nails, use a fine-grit glass or emery board. For acrylics or gels, use a coarser file.
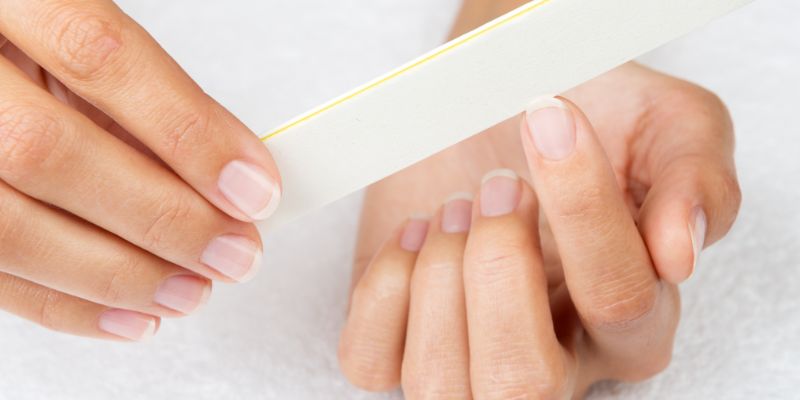
Step 3: File in one direction. This is the most important rule. Place the file under the free edge of the nail and file from the outer edge toward the centre in one smooth stroke. Lift the file off the nail at the end of the stroke. Never saw back and forth. Sawing creates micro-tears that travel up the nail, leading to peeling and splitting.
Step 4: Work from the side to the centre. Start at one corner of the nail and file in one direction toward the centre. Repeat on the other side. This creates a balanced shape and prevents uneven edges.
Step 5: Smooth the edges. Once the shape is established, use a fine-grit file to gently smooth any rough edges. Run your finger along the edge; if you feel any roughness, file gently.
Step 6: Check symmetry. Look at your nails from multiple angles. Both sides should be even and balanced. A slight difference can make the shape look lopsided.
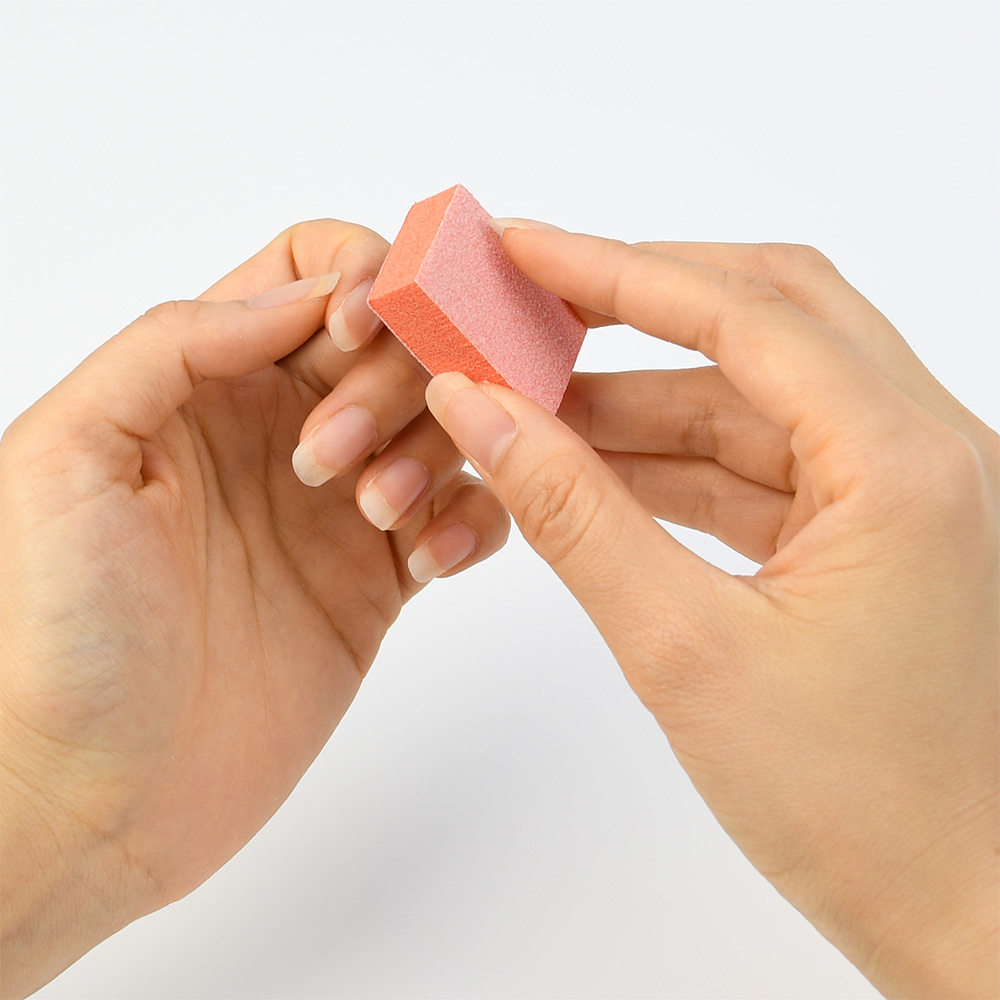
Step 7: Buff the surface (optional). If you are not applying polish, you can use a nail buffer to smooth the nail surface and create a natural shine. Use light pressure and a fine buffer to avoid thinning the nail.
The Benefits of Proper Filing
Reduces peeling and splitting. Filing in one direction seals the edge of the nail, preventing the layers from separating.
Promotes nail strength. Removing weak edges prevents them from catching and tearing, allowing the nail to grow stronger.
Creates a smooth, professional finish. A well-filed nail provides a smooth surface for polish, resulting in a longer-lasting, more professional-looking manicure.
Prevents ingrown nails. Filing the edges of the nails can prevent them from curving into the skin, especially on toes.
Common Filing Mistakes
Sawing back and forth. This is the number one mistake. It creates micro-tears that lead to peeling and splitting. Always file in one direction.
Filing wet nails. Wet nails are soft and flexible, making them more likely to tear. Always file dry nails.
Using a coarse file on natural nails. Coarse files are for acrylics and gels. On natural nails, they create rough edges that are more prone to peeling. Use a fine-grit file (180-240).
Filing too aggressively. Pressing too hard can thin the nail plate and create heat, which can damage the nail. Use gentle, even pressure.
Filing the wrong shape for your hands. Choose a shape that complements your finger length and nail bed width. Squoval (square with rounded corners) is the most universally flattering.
Filing the corners too low. Filing the sidewalls too aggressively can weaken the nail structure and increase the risk of ingrown nails. Follow the natural curve of your nail bed.
Using a dull file. A dull file does not cut cleanly and can create rough, jagged edges. Replace files regularly.
The Bottom Line
Filing your nails is a simple but essential part of nail care. By choosing the right tool and using the correct technique, you can prevent peeling, splitting, and breakage. File in one direction, use a fine-grit file on natural nails, and always file dry nails. With consistent, gentle care, your nails will stay strong, healthy, and beautifully shaped.
Read also: The Complete Guide to Nail Sculpting: What It Is, When to Do It, and How to Master It