The Complete Guide to Nail Sculpting: What It Is, When to Do It, and How to Master It
I remember the first time I saw a nail technician sculpt an extension from scratch. She didn’t use tips or forms. Just a bead of acrylic, a brush, and her steady hands. Within minutes, she had created a perfectly shaped, structurally sound extension that looked like it grew out of the natural nail bed.
That was when I understood the difference between filing nails and sculpting them.
What Is Nail Sculpting?
Nail sculpting is the process of building and shaping a nail enhancement or natural nail overlay using a product that hardens—whether acrylic, gel, or polygel. Unlike simply filing a nail into a shape, sculpting involves creating structure. The goal is not just a pretty shape, but a properly constructed apex (the highest point of the nail), sidewalls that support the nail, and a free edge that resists breakage.
Sculpting can be done on natural nails to correct flaws, strengthen weak plates, or create an even surface for polish. It can also be used to build extensions on forms or over tips. The term is often used interchangeably with “nail shaping,” but in professional circles, sculpting is the more precise and structural process.
When Do You Need Nail Sculpting?
Nail sculpting is not always necessary. But when certain conditions exist, it is the best—or only—solution.
For weak, peeling, or brittle nails. If your natural nails bend, peel, or break at the slightest touch, a sculpted overlay adds strength and structure. The product forms a rigid shell that protects the natural nail while it grows out.
To correct nail shape. Some nails grow downward, upward, or unevenly. A sculpted enhancement can correct these growth patterns, creating a uniform, balanced appearance.
For lengthening. If you want length that your natural nails cannot support, sculpting extensions over forms or tips is the most durable and natural-looking option.
For severe nail damage. After injury, surgery, or aggressive removal of enhancements, the nail plate may be thin, ridged, or uneven. A sculpted overlay protects the damaged nail while it heals and regrows.
For clients with difficult nail shapes. Some people have very flat, very curved, or very short nail beds. Off-the-shelf tips often do not fit properly. Sculpting allows for custom shaping that fits the individual’s nail anatomy perfectly.
To correct excessive nail curvature. For clients with severely curved nails, sculpting can help create a more flattering, balanced shape.
Essential Tools for Nail Sculpting
You do not need a full salon’s worth of equipment, but a few key tools make the difference between a amateur and professional result.
Forms or tips. If you are building extensions, you need forms (paper or metal) placed under the free edge, or tips pre-shaped for gluing.
Product system. Acrylic (liquid and powder), gel (builder gel), or polygel. Each has its own application technique and curing process.
Brushes. For acrylic and gel, a quality brush with synthetic or natural bristles is essential. The right brush holds the product and creates smooth, even application.
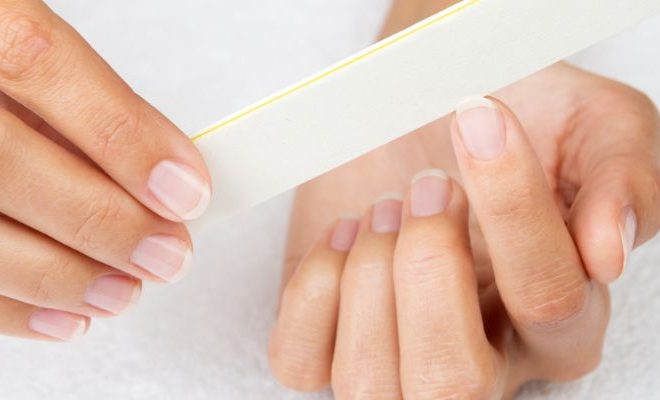
Files and buffers. A coarse file (100-150 grit) for shaping and a fine file (180-240 grit) for smoothing. A buffer for finishing.
Cuticle pusher and nippers. For prepping the nail bed. The product will only adhere to a clean, oil-free surface.
Lint-free wipes and cleanser. For removing dust and inhibition layers.
UV/LED lamp (for gel and polygel). For curing the product.
Primer and dehydrator. To prepare the natural nail surface for adhesion.
How to Sculpt Nails: Step by Step
Step 1: Prepare the natural nail. Push back cuticles, gently buff the nail surface to remove shine, and cleanse thoroughly with a dehydrator. This step determines the longevity of the enhancement. Apply primer if your system requires it.
Step 2: Build the structure. For extensions: place a form under the free edge or glue a tip to the natural nail. For overlays: no form is needed; you are reinforcing the natural nail. Apply a thin layer of product (base gel or acrylic) and cure if using gel.
Step 3: Create the apex. The apex is the thickest point of the nail, located about one-third of the way from the cuticle. It is the structural support that prevents breakage. Place a bead of product slightly below the center of the nail, then gently push it toward the cuticle and pull it toward the tip. The product should naturally gather at the apex.
Step 4: Shape the sidewalls. Use gentle motions to define the sidewalls. The product should taper slightly from the cuticle to the tip, creating a natural-looking silhouette. Avoid making the sidewalls too thin—this weakens the nail.
Step 5: Refine and finish. Once the product is cured (or dry), use a coarse file to shape the overall silhouette. Switch to a finer file for smoothing. Buff the surface to remove imperfections. Apply a top coat or polish as desired.
Step 6: Hydrate. Apply cuticle oil and hand cream to finish. Your work is done.
Why Nail Sculpting Matters
Sculpting is not just about beauty. It is about building nails that last, that do not break, and that protect the natural nail underneath. A properly sculpted enhancement distributes stress evenly across the nail plate, preventing breaks at the stress point. It also seals the natural nail from water, chemicals, and trauma, promoting healthier growth.
For salon owners, sculpting offers endless creative possibilities—from subtle natural enhancements to dramatic artistic designs. It builds client loyalty and sets your services apart.
The Bottom Line
Nail sculpting is a skill that separates basic nail care from professional artistry. Whether you are reinforcing weak nails, correcting growth patterns, or building elegant extensions, proper sculpting requires technique, patience, and the right tools. A well-sculpted nail is not just beautiful—it is structurally sound, protective, and long-lasting. With consistent practice, you can master this craft and offer your clients nails that look and feel professionally done.